
如果你自己有一個專屬的網址 (www.xxx.com), 你可以申請免費的Google Apps Standard Edition Account來作為你專屬網址的郵件信箱 (abc@xxx.com), 這樣會比使用abc@gmail.com或是abc@yahoo.com看起來要專業多了. Google Apps有免費(Standard)和付費(Premier)二種, 一般人用免費的就夠了, 雖然免費, 同一個網址可以讓你設定五十個帳號 (info@xxx.com, contact@xxx.com, feedback@xxx.com, etc), 而且還具有Google Calendar & Google Docs 功能.


但是一般Gmail的Signature只有文字形態 (text version), 無法讓你上傳圖片或Logo.

如果你想要一個有Logo的客製簽名, 必須先下載 Google-Chrome,
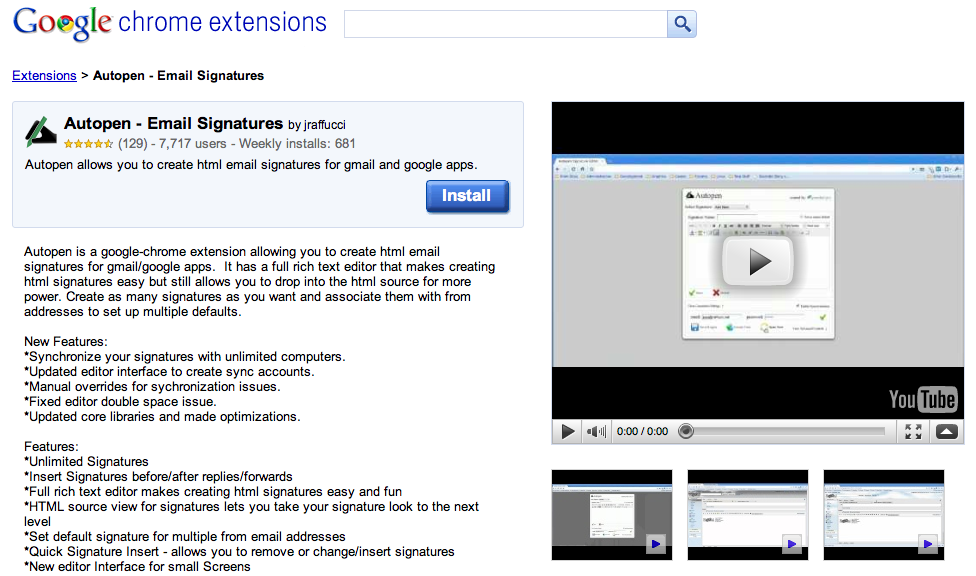
然後在下載Autopen (google-chrome extension, 類似plug-in).
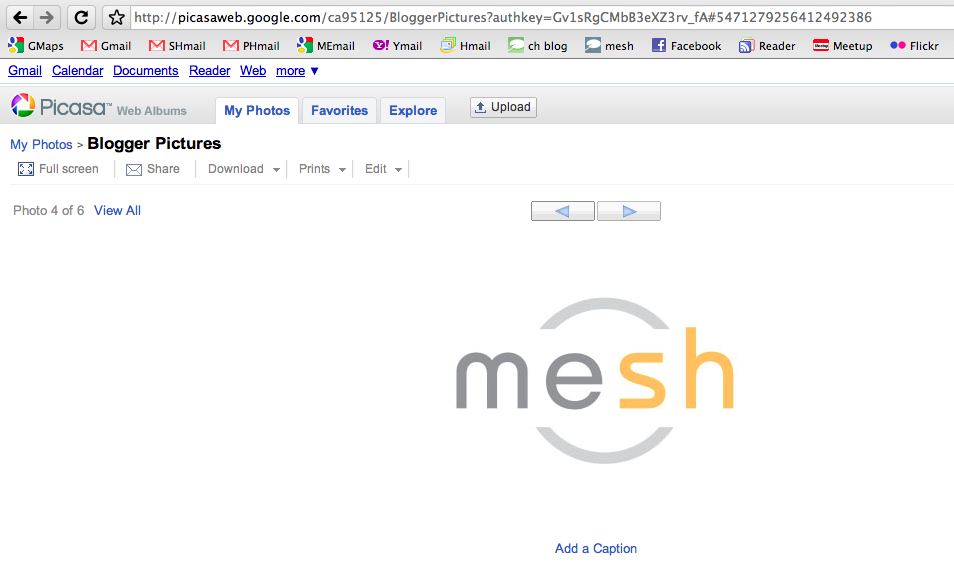
接下來將你的Logo上傳到 Picasa (免費的Google相簿).
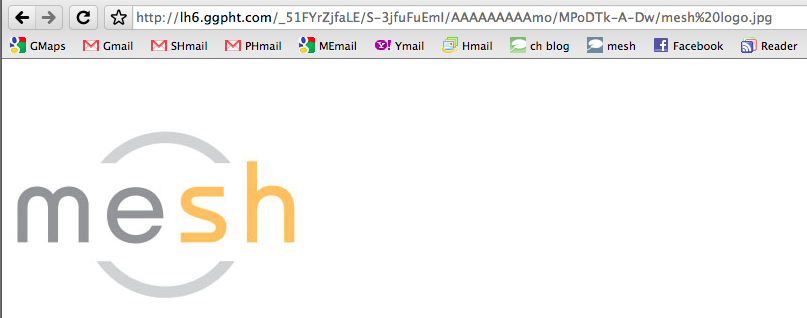
然後Drag your logo to the "http://" 的地方 這樣就會出現照片的.jpg's URL address (這個照片的URL地址是下一步要用的).

還記得先前你下載的Autopen (google-chrome extension)嗎? 此時你應該有一個Autopen Signature Editor的畫面, Add New > type in new signature name > check Insert signature
after reply/forward > check Enable Synchronization > type in the email and
password for the new signature account > Click on “Insert/edit Image” icon (一棵樹的那個圖案).
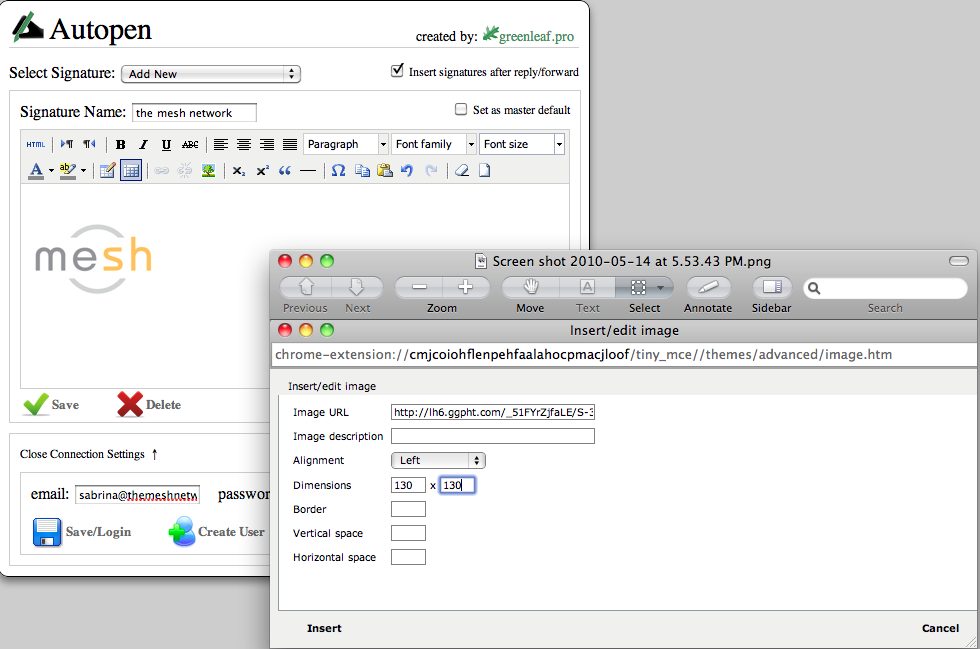
然後就會出現右下角這個畫面, 這時Image URL就貼上你Logo在Picasa上的.jpg's URL, Alignment選擇靠左, Dimensions就看你希望你的Logo尺寸多大 (正方型可以先試130×130), then click Insert. Logo應該就會出現在Edit Page (如左上角的畫面).

然後繼續打入其他的連絡資料 > click
Save > Click Sync Now > It will redirect to your email account.
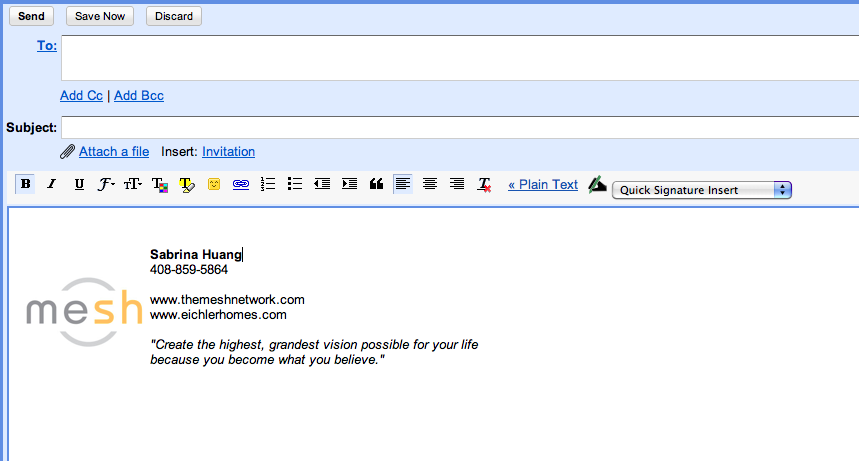
這時在你的電子郵件發信欄中, 就應該會有你剛剛設定的簽名檔.

如果你有好幾個不同的郵件地址都是使用Google Apps, 你可以反覆上述的設定動作, 來為不同的電子郵件信箱, 設定不同的簽名檔. 當你Sign-in後, 你可以選擇使用不同的簽名檔.
千萬記得, 這個特製簽名檔的功能只有當你使用Google-Chrome才能用; 如果你用Firefox, Safari or IE的話, 就不會出現你的特製簽名檔. 我想, 這是Google進軍瀏覽器戰區 (Browser)的方式.
